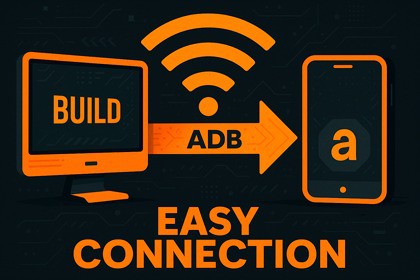
Easily connect your Android device to Unity over Wi-Fi with no cables! Fast build deployment, easy testing, and smart long-term pairing. Don’t kill your charging port)Mobile Wi-Fi EasyConnect (ADM Build) is a tool that allows you to easily connect your Android device with Unity for quickly sending builds directly to your phone. After building your project, the build will be sent to your smartphone over the local Wi-Fi network, installed, and launched automatically.It also lets you test your game wirelessly, without a cable and without creating builds via Unity Remote.Moreover, you can track logs (logcat support), which makes it easy to understand the cause of the crash of the game, see errors and other information.Wireless connection is more convenient to use, and it eliminates the risk of damaging your cable or your phone’s charging port from constant plugging/unplugging during testing.On the first connection, the tool automatically establishes a persistent link between your PC and your phone. This means that after you disconnect, the next connection won’t require you to enter any codes. You’ll simply be able to go to Tools → ADB Wi-Fi → Connect, and that’s it!“Activate connection” (first-time pairing)You can activate the connection either via USB cable or via Wi-Fi:• Online documentationVia USBConnect the USB cable.Enable USB debugging.Choose the “File Transfer” connection mode.Enter your device’s IP address in the corresponding field.Press the Pair button.Via Wi-FiOn your phone, go to Settings → Developer Options → Wireless Debugging.Enable wireless debugging.You will see your device’s IP address and the current port. Enter this port in the Port 1 field.Press Connect device with pairing code.Enter the code into the Code field. A new port will be displayed below — enter it into the Port 2 field.Press the button to activate the connection.DetailsAfter rebooting your phone, you will most likely need to “activate the connection” again. This is a limitation of ADB (the mechanism used for connection and debugging).On the first connection, your phone may display a notification that the connection failed, but in reality it succeeds. Ignore this message. This happens because the script first attempts to find a previously connected device. This is intentional to make the connection process as simple and fast as possible.To perform a quick build and install it on your phone, you need to select your device in Build Settings → Build to Device. You may need to press the Refresh button next to this field first. If you still don’t see your device, but in the tool’s log you can see a successful connection, go to: Edit → Project Settings → Editor → Device → Any Android Device.To enable Developer Options on your phone, you first need to unlock it. There are many guides online that explain how to do this.NotesThe tool is just one script, which you can place in any folder of your project. It works only inside the Unity Editor and will not be included in the build.If you are trying to activate the connection via USB cable, or if Unity does not recognize your phone, you may need to install a driver for your device. The easiest way is to use the universal ADB driver “Universal Adb Driver Setup”. You can also try updating your device driver via Windows Device Manager.The tool does not support MacOS.The tool does not support MacOS.Chat GPT helped me with the technical part of the script.


